






Free shipping
Similar items



![[6 Boxes] Strong Cartons for Shipping, Moving and Storage [Dimension:42x42x26cm]](https://cdn.dsmcdn.com/mnresize/420/620/ty1964/prod/QC_PREP/20260926/14/09eee053-0d13-330e-885f-f56c3049fa28/1_org_zoom.jpg)

![[5 Boxes] Brown Shipping & Storage Cartons [Dimensions:7x12x21cm]](https://cdn.dsmcdn.com/mnresize/420/620/ty1964/prod/QC_PREP/20260926/15/b6f5bd98-29ec-3083-8c90-e8ecdb02a3eb/1_org_zoom.jpg)





Shoppers also viewed





 Whiteboard with Anodized Aluminium Frame, 60x40cm, for School Office Home
Generic Black Chalkboard Stand reviews
1 ratings
1 reviews

Product Q&As
Fixing instruction book is not provided. How will I fix this stand?

Answer from Distribution experts
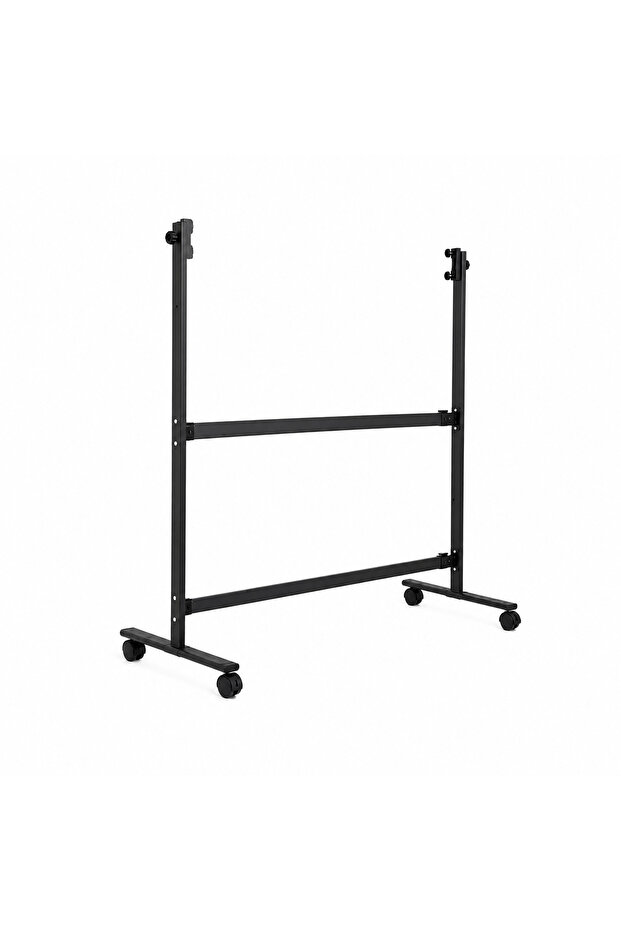
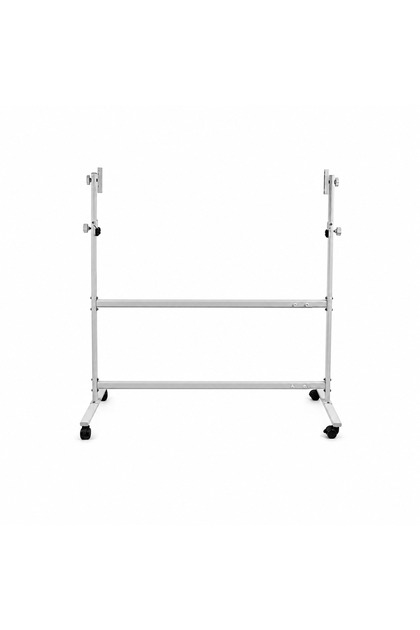
Here is the step-by-step assembly guide: 1. Secure the vertical posts to the bases with wheels: Place each base on a level surface. Place one vertical post on each base and insert the included screws/rings. Tighten them securely while keeping the posts perfectly vertical. 2. Attaching the Lower Support Beam: Install the lower horizontal beam between the two vertical posts. Align the holes/slots at both ends, insert the included fasteners, and tighten both sides evenly. 3. Attaching the Upper Support Beam: Install the second horizontal beam between the two vertical posts at the desired location. Keep both ends at the same height, then securely tighten the fasteners/knobs. 4. Adjusting Width and Height: Adjust the adjustable parts to fit the whiteboard. Make sure the frame is centered and that the two vertical posts are parallel before final assembly. 5. Installing the Whiteboard Mounting Brackets: Secure the mounting brackets included with the whiteboard using the appropriate screws. Then secure the brackets to the top mounting points of the stand. 6. Final Safety Check: Tighten all connections. Make sure all wheels and bases are firmly on the ground, and gently test the stand for stability before releasing the board.
Translated by Google
Which size of board will fit into the stand? Is the stand adjustable? Could you please provide the dimensions and let me know the available sizes of the stand?
Answer from Distribution experts
The stand accommodates paintings ranging in size from 80 to 200 cm. Yes, the stand is adjustable. Dimensions: 130.5 × 27.5 × 22.5
Translated by Google

Product details

Additional info
- Sold by .
- A maximum of 5 units of this product can be ordered. Trendyol reserves the right to cancel orders over 5 units.
- Barcode No: ARCO-170P
Safety information
Product safety information